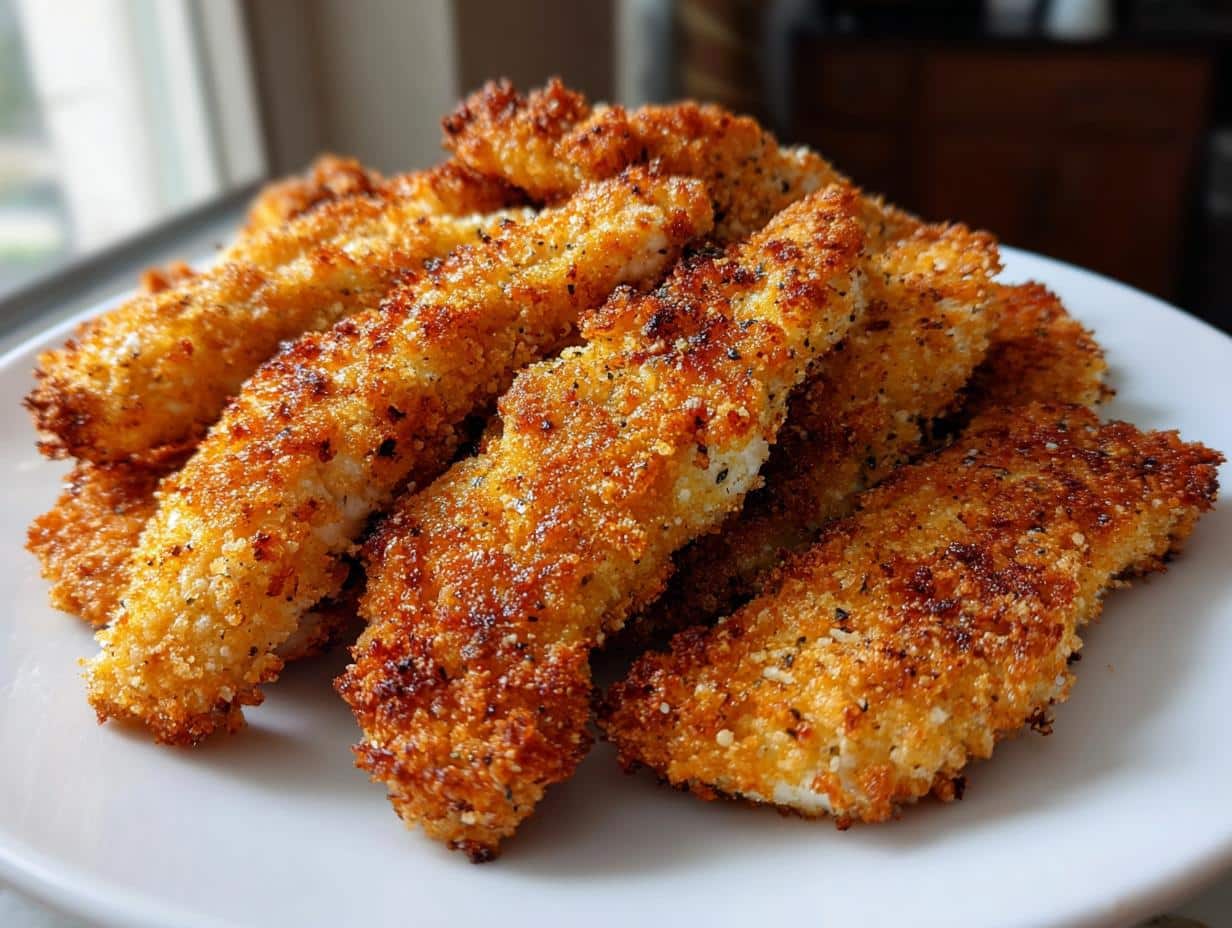
Easy Homemade Crispy Baked Cheddar Chicken Fingers: Your New Family Favorite
Few dishes evoke such universal delight as a plate of perfectly cooked chicken fingers. While often associated with deep-fried indulgence, imagine a version that’s just as crispy, packed with savory flavor, and significantly healthier – all achieved right in your own oven! We’re talking about homemade baked crispy cheddar chicken fingers, a culinary revelation that promises tender, juicy chicken encased in an irresistible, golden-brown cheddar crust. This isn't just a meal; it's a game-changer for busy weeknights, a crowd-pleaser for parties, and a guaranteed hit with even the pickiest eaters. Forget restaurant versions; once you master these easy homemade crispy baked cheddar chicken fingers, you'll never look back.
Why Baked is Best: Healthier, Crispier, and Easier
When it comes to chicken fingers, the traditional fried method often comes to mind. However, for a dish that delivers on both taste and health, baking is undoubtedly the superior choice. Our focus on baked crispy cheddar chicken fingers means you can enjoy that satisfying crunch without the excessive oil, mess, and calories associated with deep-frying. This makes them an excellent option for those seeking a healthier baked cheddar chicken: restaurant quality at home.
- Reduced Fat Content: Baking significantly cuts down on the amount of oil absorbed by the chicken, resulting in a lighter, less greasy final product. This is a huge win for your waistline without sacrificing flavor.
- Effortless Cleanup: Say goodbye to splattering oil and cumbersome disposal. Baking in the oven is a much cleaner process, making post-dinner cleanup a breeze.
- Consistent Crispy Texture: The secret to truly crispy baked chicken fingers lies in a few key techniques. High oven temperatures (around 425°F or 220°C), combined with the right coating ingredients like panko breadcrumbs and a light spritz of cooking spray, create a remarkable exterior that rivals its fried counterparts. Panko, with its larger, flakier texture, provides superior crunch, while the cheddar cheese in the coating not only adds incredible flavor but also helps create a wonderfully textured, almost crackly crust as it bakes and browns.
- Hands-Off Cooking: Once your chicken fingers are on the baking sheet, the oven does most of the work, freeing you up to prepare side dishes or simply relax.
By opting for a baked approach, you're choosing a smart, delicious, and incredibly satisfying way to enjoy your favorite chicken dish.
The Secret to Irresistibly Crispy Baked Cheddar Chicken Fingers
Achieving that perfect balance of juicy interior and shatteringly crispy exterior in your homemade chicken fingers isn't difficult with a few key steps. Here’s how to create truly exceptional baked crispy cheddar chicken fingers:
Choosing the Right Chicken
For the most tender results, chicken breast tenderloins (often just called "chicken tenders") are ideal. These strips of meat are naturally more tender than the main breast muscle. If tenderloins aren't available, boneless, skinless chicken breasts cut into 1-inch thick strips will work perfectly. Aim for uniform thickness to ensure even cooking.
The Buttermilk Marinade Magic
This is a crucial first step that many skip, but it makes all the difference. Marinating your chicken in buttermilk does two wonderful things:
- Tenderizes: The lactic acid in buttermilk gently breaks down the chicken fibers, resulting in incredibly tender and moist chicken.
- Adheres Coating: It creates a slightly tacky surface, allowing your flavorful cheddar coating to stick beautifully without falling off during baking.
Crafting the Perfect Cheddar Crust
This is where the "cheddar" in our baked crispy cheddar chicken fingers truly shines.
- The Dredging Station: Set up a simple dredging station with three shallow dishes.
- Dish 1 (Flour Base, Optional): A small amount of all-purpose flour seasoned with a pinch of salt and pepper. This initial light dusting helps absorb any excess buttermilk and creates a base for the egg wash. While the reference context suggests a double flour dip for fried, for baked, we'll simplify and prioritize the egg-panko adhesion. However, a light flour dip *before* the egg can help some coatings stick better. For simplicity and maximizing cheddar flavor, we'll focus on egg-then-panko.
- Dish 2 (Egg Wash): Whisk 2-3 large eggs with a splash of milk or water. This acts as the "glue" for your crispy coating.
- Dish 3 (Cheddar Panko Blend): This is the star! Combine 2 cups of panko breadcrumbs with 1 cup of finely shredded sharp cheddar cheese. The sharper the cheddar, the more pronounced the flavor. Elevate the taste further with essential seasonings:
- 1 teaspoon garlic powder
- 1 teaspoon onion powder
- 1/2 teaspoon smoked paprika (for a subtle smoky depth, even without bacon)
- 1/2 teaspoon salt
- 1/4 teaspoon black pepper
- Optional: A pinch of cayenne pepper for a little heat.
- Coating the Chicken:
- Working one piece at a time, lift the chicken from the buttermilk marinade, letting any excess drip off.
- Dip into the egg wash, ensuring it's fully coated.
- Transfer to the cheddar panko blend. Press the mixture firmly onto all sides of the chicken, ensuring a thick, even coating. This firm press is vital for preventing the coating from falling off during baking and for achieving maximum crispiness.
Baking for Golden Perfection
Proper baking technique is crucial for achieving that coveted crispiness without frying.
- Preheat your oven to a high temperature: 425°F (220°C). This high heat helps the coating crisp up quickly before the chicken dries out.
- Prepare your baking sheet: Line a large baking sheet with parchment paper for easy cleanup, then place an oven-safe wire rack on top. The wire rack is essential as it allows air to circulate around all sides of the chicken fingers, promoting even cooking and an all-around crispy crust. If you don't have a rack, simply use parchment paper, but you might need to flip them more carefully.
- Arrange and Spray: Place the coated chicken fingers in a single layer on the wire rack, ensuring they are not touching. Lightly mist the tops of the chicken fingers with cooking spray (olive oil or avocado oil spray works well). This helps achieve a beautiful golden-brown color and adds an extra layer of crispness.
- Bake: Bake for 15-20 minutes, flipping halfway through, or until the chicken is golden brown and cooked through. The internal temperature should reach 165°F (74°C). Avoid overbaking, as this can lead to dry chicken.
Serving Suggestions and Customization for Your Chicken Finger Feast
Once your easy homemade crispy baked cheddar chicken fingers emerge from the oven, golden and fragrant, the fun continues with delicious serving options and creative customizations.
Dipping Delights
The perfect dip elevates any chicken finger experience. While classic choices like ranch, ketchup, and honey mustard are always a hit, don't hesitate to get creative:
- Homemade Ranch: A fresh, herby ranch dressing is unparalleled.
- Spicy Sriracha Mayo: Mix sriracha with mayonnaise for a creamy, zesty kick.
- Tangy BBQ Sauce: A smoky or sweet BBQ sauce provides a fantastic contrast.
- Creamy Avocado Dip: Mash avocado with lime juice, cilantro, and a pinch of salt for a healthier option.
Complete Meal Ideas
Transform your chicken fingers into a hearty and satisfying meal with these side dish pairings:
- Roasted Vegetables: Roasted broccoli, asparagus, or sweet potato fries make excellent, nutritious companions.
- Mashed Potatoes: Creamy Instant Pot mashed potatoes or classic garlic mashed potatoes offer comforting balance.
- Crisp Side Salad: A simple green salad with a light vinaigrette adds freshness.
- Coleslaw: A crunchy, creamy coleslaw is a classic pairing that never disappoints.
- Corn on the Cob: Sweet, buttery corn on the cob is a fantastic seasonal addition.
Flavor Boosters & Variations
Don't be afraid to experiment and make these baked crispy cheddar chicken fingers truly your own!
- Smoky Bacon Cheddar: For an extra layer of savory goodness, crumble cooked bacon bits and mix them into your cheddar panko coating. This variation adds a fantastic smoky richness.
- Herbaceous Twist: Finely chop fresh herbs like parsley, chives, or rosemary and add them to your panko mixture.
- Spicy Kick: Increase the smoked paprika, add a pinch of chili powder, or finely chopped pickled jalapeños to the coating for a bolder flavor profile.
- Different Cheeses: While sharp cheddar is fantastic, experiment with other cheeses like Parmesan, Gruyère, or a Monterey Jack for different flavor nuances.
- Nutty Crunch: For an additional layer of texture and flavor, finely grind a handful of pecans or walnuts and add them to the breadcrumb mixture.
The versatility of this recipe ensures that your easy homemade crispy baked cheddar chicken fingers will become a beloved staple, adaptable to any taste or occasion.
Troubleshooting & Make-Ahead Tips
Even with a straightforward recipe, a few tips can ensure your baked crispy cheddar chicken fingers turn out perfectly every time, and that you can enjoy them efficiently.
Common Pitfalls and Solutions
- Not Crispy Enough?
- Solution: Ensure your oven is fully preheated to 425°F (220°C). Use a wire rack on your baking sheet to allow air circulation. Don't overcrowd the pan; bake in batches if necessary. A light mist of cooking spray on top before baking helps achieve that golden crisp.
- Dry Chicken?
- Solution: The buttermilk marinade is key here for moisture. Also, avoid overbaking. Use a meat thermometer to check for an internal temperature of 165°F (74°C) and remove them promptly from the oven once reached.
- Coating Falling Off?
- Solution: Make sure to press the panko-cheddar mixture firmly onto the chicken strips. A brief chill in the refrigerator for 10-15 minutes after coating can also help the breading adhere better.
Storage and Reheating
These chicken fingers are best served immediately for optimal crispness, but leftovers are still delicious with proper reheating.
- Storage: Store cooked chicken fingers in an airtight container in the refrigerator for up to 3-4 days.
- Reheating: To restore crispness, reheat them in a preheated oven at 425°F (220°C) for 10-15 minutes, or until heated through and crispy. An air fryer is also an excellent tool for reheating, usually requiring 5-8 minutes at 375°F (190°C). Avoid the microwave, as it will make them soggy.
- Freezing (Cooked): Once cooled completely, flash freeze the baked chicken fingers on a baking sheet until solid, then transfer them to a freezer-safe bag or container for up to 2-3 months. Reheat from frozen in the oven or air fryer, adding a few extra minutes to the cooking time.
- Freezing (Uncooked): You can also coat the chicken fingers and then flash freeze them before baking. Once solid, transfer to a freezer bag. Bake from frozen at 425°F (220°C) for 25-30 minutes, or until cooked through, turning halfway. This is a fantastic meal prep hack for quick dinners!
With these tips, you'll be able to enjoy your delicious healthier baked cheddar chicken whenever a craving strikes!
Conclusion
Making easy homemade crispy baked cheddar chicken fingers is more than just cooking; it's creating a delightful experience for yourself and your loved ones. With the incredible tenderness from the buttermilk marinade and the unbeatable crunch of the cheesy panko coating, these chicken fingers stand head and shoulders above any restaurant version. They offer a healthier, less messy alternative to frying, without compromising on flavor or that satisfying crispy texture. Whether you're whipping up a quick family dinner, a fun game-day appetizer, or simply craving that classic comfort food with a gourmet twist, this recipe is a guaranteed winner. So go ahead, gather your ingredients, and get ready to enjoy the best baked crispy cheddar chicken fingers you've ever tasted!
