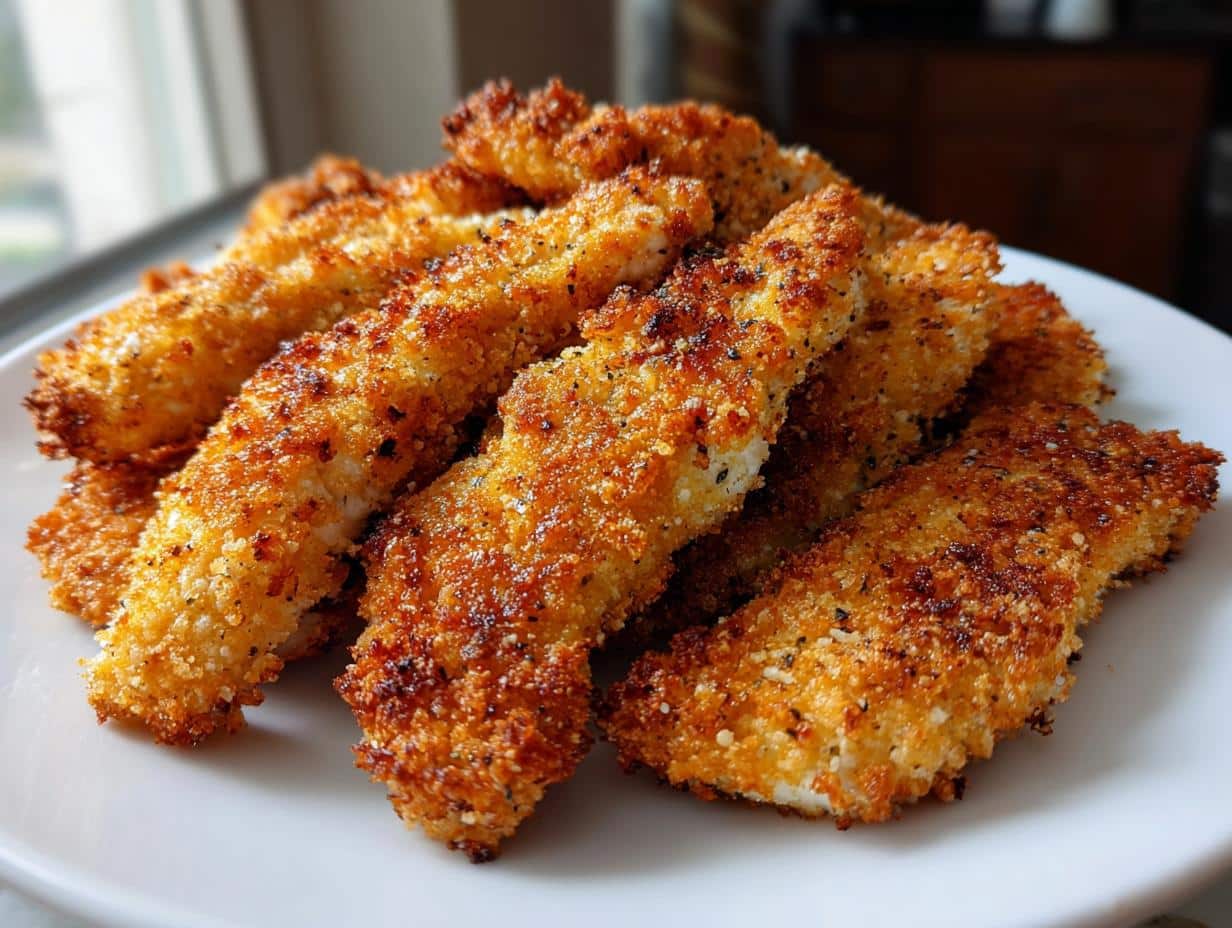
Get Ultra Crispy Baked Cheddar Chicken Fingers at Home
There’s something universally appealing about a plate of golden, crispy chicken fingers. They evoke a sense of comfort, nostalgia, and pure culinary delight. While often associated with deep-frying and restaurant menus, what if you could achieve that coveted ultra-crispy texture and tender, juicy interior right in your own kitchen – with the added bonus of a savory cheddar kick, and all baked to perfection? Say goodbye to greasy takeout and hello to the ultimate homemade Easy Homemade Crispy Baked Cheddar Chicken Fingers that will have everyone reaching for more.
This comprehensive guide will show you how to master the art of baking chicken fingers that are not only healthier than their fried counterparts but also burst with an irresistible cheesy flavor and an extraordinary crunch. Perfect for a family dinner, a kid-friendly meal, or a crowd-pleasing appetizer on game day, these baked crispy cheddar chicken fingers are truly a game-changer.
Why Choose Baked Crispy Cheddar Chicken Fingers?
Opting for baked chicken fingers over fried ones offers a multitude of benefits, both for your health and your taste buds. The addition of cheddar elevates this classic to a whole new level:
- A Healthier Indulgence: By baking instead of deep-frying, you significantly reduce the amount of oil and calories, making these chicken fingers a lighter, yet equally satisfying, meal. It's a fantastic way to enjoy a comfort food without the guilt. If you're looking for more ways to enjoy Healthier Baked Cheddar Chicken: Restaurant Quality at Home, this recipe is a perfect starting point.
- Unmatched Flavor Profile: The sharp, savory notes of cheddar cheese baked into the coating create a depth of flavor that's simply addictive. It adds a delicious tang and richness, complementing the tender chicken perfectly.
- Exceptional Crispiness, Without the Fryer: Forget soggy baked chicken. With the right techniques and ingredients, you can achieve an incredible, shattering crispness that rivals fried versions. This recipe focuses on creating that desirable crunch every single time.
- Kitchen-Friendly and Less Mess: Baking eliminates the need for large quantities of hot oil, making cleanup significantly easier and your kitchen less prone to oil splatters.
- Versatile Family Favorite: These chicken fingers are a guaranteed hit with all ages. They're simple enough for a weeknight meal but impressive enough to serve guests.
Crafting the Ultimate Crispy Cheddar Coating
The secret to truly ultra-crispy baked chicken fingers lies in the coating. It's where the magic happens, transforming tender chicken into a crunchy, cheesy delight. Here’s how we build it:
- The Power of Panko Breadcrumbs: This is non-negotiable for superior crispiness. Unlike traditional breadcrumbs, Panko is made from crustless bread and has a larger, flakier texture. These flakes absorb less oil and become incredibly light and airy when baked, providing that distinctive crunch.
- Introducing the Cheddar Cheese: For the best flavor and texture, use freshly grated sharp cheddar cheese. Pre-shredded cheeses often contain anti-caking agents that can hinder crispiness. Mix the finely grated cheddar directly into your Panko mixture. As it bakes, the cheese will melt slightly, then crisp up, creating a golden, savory crust.
- A Symphony of Seasonings: Don't just rely on salt and pepper. Elevate your coating with a thoughtful blend of spices. Consider smoked paprika (for a subtle, savory depth, echoing the idea of a smoky bacon cheddar crust), garlic powder, onion powder, and a pinch of cayenne pepper if you enjoy a little heat. This seasoned blend ensures every bite is packed with flavor.
- The Dredging Technique: For maximum adhesion and an extra-thick crust, we'll use a simple yet effective dredging process. While some recipes suggest flour first, a simple egg wash followed by a thorough coating in the Panko-cheddar mixture usually suffices for baking. The egg acts as a binder, ensuring the seasoned breadcrumbs cling tightly to the chicken. Make sure to press the chicken firmly into the Panko mixture to get a good, even coat.
- The Role of Cooking Spray: A light mist of cooking spray or a drizzle of olive oil over the coated chicken before baking is crucial. This helps the Panko achieve that beautiful golden-brown color and incredible crispness, mimicking the effect of oil in frying without submerging the chicken.
Achieving Tender, Juicy Chicken Every Time
While the coating is vital for crispiness, the chicken itself needs to be perfectly tender and juicy. No one wants dry chicken fingers! Here’s how to ensure your chicken is succulent:
- The Buttermilk Marinade: A Game-Changer: The secret weapon for incredibly tender and moist chicken is a buttermilk marinade. The lactic acid in buttermilk gently breaks down the tough muscle fibers in the chicken, resulting in a remarkably tender texture. It also helps the coating adhere better. Marinate your chicken tenders for at least 30 minutes, or even better, a few hours in the refrigerator for maximum effect.
- Selecting the Right Chicken Cut: Chicken breast tenders (also known as tenderloins) are ideal for this recipe. They are naturally more tender than standard chicken breast and are already pre-portioned into finger-like shapes, ensuring even cooking. If you can't find tenders, boneless, skinless chicken breasts can be sliced into ½-inch thick strips. Ensure all pieces are of similar thickness for uniform cooking.
- Don't Overcook: This is critical! Overcooked chicken becomes dry and tough. Baking at a higher temperature (like 425°F/220°C) helps the chicken cook through quickly while the coating crisps up. The internal temperature of chicken should reach 165°F (74°C). Use a meat thermometer if unsure, but visually, they should be golden brown and opaque throughout.
Your Step-by-Step Guide to Bakery-Perfect Fingers
Ready to transform simple chicken into irresistible baked crispy cheddar chicken fingers? Follow these steps for success:
- Marinate the Chicken: Place your chicken tenders in a bowl with buttermilk, ensuring they are fully submerged. Cover and refrigerate for at least 30 minutes, or up to 4 hours.
- Prepare Your Dredging Station: Set up three shallow dishes. In the first, whisk a couple of eggs. In the second, combine the Panko breadcrumbs, grated sharp cheddar cheese, smoked paprika, garlic powder, onion powder, salt, and pepper (and cayenne, if using). Mix well to ensure the cheese and spices are evenly distributed.
- Preheat Oven & Prepare Baking Sheet: Preheat your oven to 425°F (220°C). Line a large baking sheet with parchment paper or foil, then place an oven-safe wire rack on top. Lightly grease the wire rack with cooking spray. Using a wire rack is essential as it allows air to circulate around the chicken fingers, crisping them up on all sides.
- Coat the Chicken: Remove chicken from the buttermilk, letting any excess drip off. Dip each piece into the egg wash, ensuring it's fully coated. Then, transfer to the Panko-cheddar mixture, pressing firmly on all sides to ensure a thick, even coating.
- Arrange and Spray: Place the coated chicken fingers on the prepared wire rack, ensuring they are in a single layer and not overcrowded. Overcrowding will steam the chicken, preventing crispiness. Lightly spray the tops of the chicken fingers with cooking spray.
- Bake to Perfection: Bake for 15-20 minutes, flipping halfway through, or until the chicken is golden brown, cooked through, and the coating is deliciously crispy. The exact time may vary depending on the thickness of your chicken.
- Serve Immediately: For the best texture, serve your baked crispy cheddar chicken fingers hot out of the oven!
Serving Suggestions, Variations, and Pro Tips
These cheesy, crispy delights are versatile and can be enjoyed in many ways:
- Classic Pairings: Serve alongside oven-roasted broccoli or asparagus, a vibrant garden salad, or creamy mashed potatoes for a complete and satisfying meal. For a twist, roasted sweet potato fries also make an excellent side.
- Dipping Sauce Extravaganza: While delicious on their own, chicken fingers are made for dipping! Beyond the classic ranch, ketchup, and honey mustard, get creative with spicy mayo, sriracha aioli, a homemade garlic parmesan dip, or even a tangy BBQ sauce.
- Exciting Variations:
- Smoky Bacon Cheddar: For an extra layer of indulgence, mix finely crumbled, cooked bacon into your Panko-cheddar coating. This adds a smoky, savory depth that is truly irresistible.
- Spicy Kick: Increase the cayenne pepper in the coating or add a pinch of chili powder for a fiery twist.
- Herby Freshness: Incorporate finely chopped fresh herbs like parsley, chives, or thyme into the Panko mixture for an aromatic boost.
- Pro Tip for Reheating: If you have leftovers (a rare occurrence!), avoid the microwave, which will make them soggy. Reheat your chicken fingers on a wire rack in the oven at 400°F (200°C) for about 10-15 minutes, or until crispy again.
Once you experience the incredible flavor and texture of these homemade baked crispy cheddar chicken fingers, you'll likely never want to order them from a restaurant again. This recipe delivers all the crunch, all the juiciness, and a fantastic cheesy twist, proving that healthier cooking doesn't mean sacrificing flavor or satisfaction. Get ready to elevate your dinner game and delight your family and friends with this outstanding dish!
